---
title: "Quickstart: your first text agent"
description: "Create a text agent, choose its model, chat with it, and get the one-line embed code for your website. About five minutes."
---
A text agent answers in writing: on a web page through the widget, or in Slack,
Telegram, Microsoft Teams, WhatsApp and Discord through a deployment. This page
creates one and ends with the embed code for a website.
:::note[Before you start]
You need a Callab AI account with a workspace and **AI Agents** in your sidebar.
:::
## Create the agent
1. **Open the wizard**
In the sidebar choose **AI Agents**, then **Create Agent**.
2. **Choose text, then a single prompt**
Pick **Text Agent**, then **Single Prompt Agent**.
3. **Start from scratch**
Choose **Start from scratch**. The agent is created at once, named
**New Text Agent**, and opens in its workspace. There is no voice step: a text
agent has a model instead of a voice.
*Creating a text agent takes three choices.*
## Name it and pick a model
1. **Rename it**
Under **General**, replace the name with your own and add a one-line
**Description**. Set **Language** to the language your customers write in.
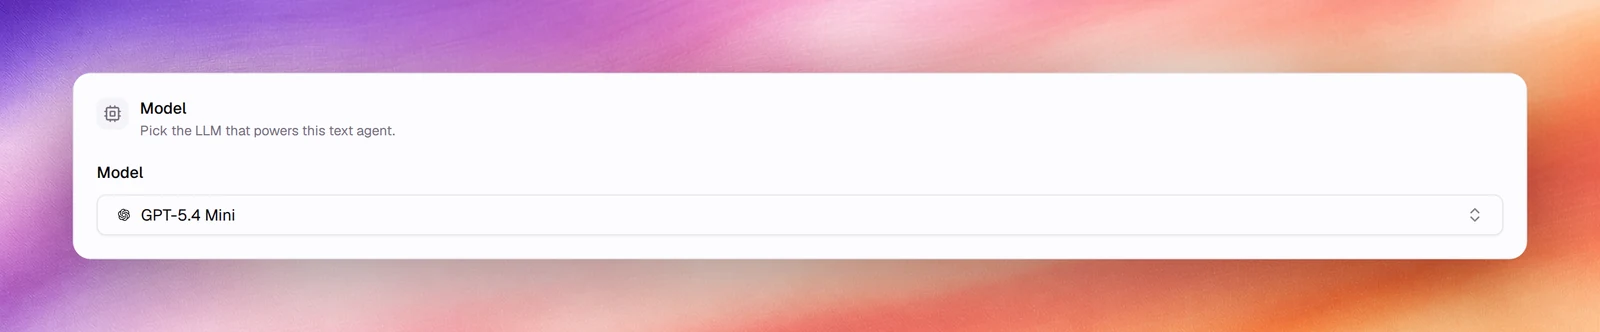
2. **Choose the model**
Under **Model**, pick the LLM that answers, for example **GPT-5.4 Mini**. The
choice can be changed at any time.
3. **Write the prompt and save**
Fill **Agent Identity**, **Tasks** and **Guardrails** as in the
[voice quickstart](/get-started/quickstart-voice-agent#write-the-prompt), then
**Save**.
## Chat with it
Under **Testing**, choose **Chat**. Type a message and send it. The reply streams in,
and each turn shows its response time.
*The Chat test.*
## Get the embed code
1. **Open the widget**
Under **Release**, choose **Widget**. The configurator shows a live preview on
the right; the presets and the **Layout**, **Avatar**, **Text**, **Colors** and
**Features** panels change it.
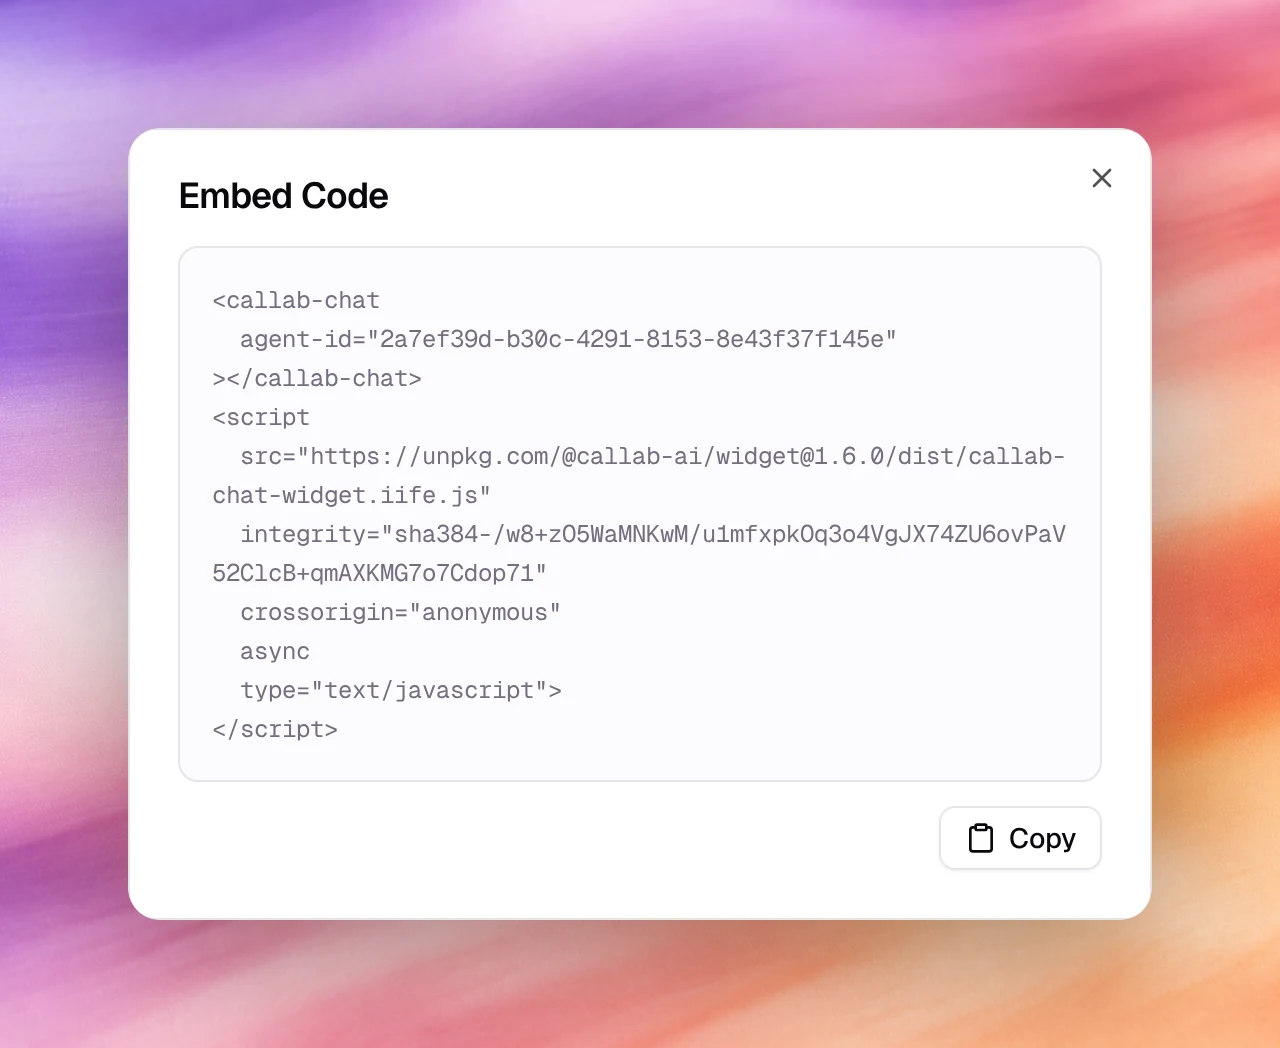
2. **Copy the code**
Choose **Embed Code**, then **Copy**. It is one custom element and one script
tag. Paste it before the closing `body` tag of any page.
3. **Make the agent public**
An embedded agent has to be reachable without signing in. Choose **Share
agent** at the top of the workspace, then turn on **Agent Visibility**.
## Verify
- **Conversations** in the main sidebar lists the chat within a few seconds: the
agent, the channel (**Web**), turns, tokens and status.
- Open it to read the thread, the model that answered and the token usage per turn.
## Troubleshooting
- **The widget loads but the agent does not answer.** The agent is still private.
Turn on **Agent Visibility** under **Share agent**.
- **The reply says the model does not exist.** The agent still has the model it was
created with. Pick one under **Model** and save.
- **The reply is in the wrong language.** Set **Language** under **General**, and
say so in **Guardrails** as well.
## What next
**[Deploy to Slack or WhatsApp](/deploy/bot-deployments/overview)**
Put the same agent in the apps your customers already use.
**[Style the widget](/deploy/widget-and-embed/widget-designer)**
Presets, colours, labels and placement.
**[Give it knowledge](/build/tools/knowledge-base)**
Answer from your own documents.
**[Capture outcomes](/build/outcomes)**
Structured fields after every conversation.