

Contacts
The people your outbound campaigns call: add them one at a time or import a file, give each a source, category and tag, then filter on those.
A contact is a name, a phone number and 3 labels: Source, Category and
Tag. Outbound campaigns select their audience by those labels, so how you fill
them in decides how precisely you can target a campaign later. Contacts are managed
under Contacts in the main sidebar, at /contacts, and belong to the current
workspace.
The list
The table shows every contact with Name, Phone, Source, Category, Tag and Created At. Above it:
- Search contacts by name or phone number narrows the list as you type.
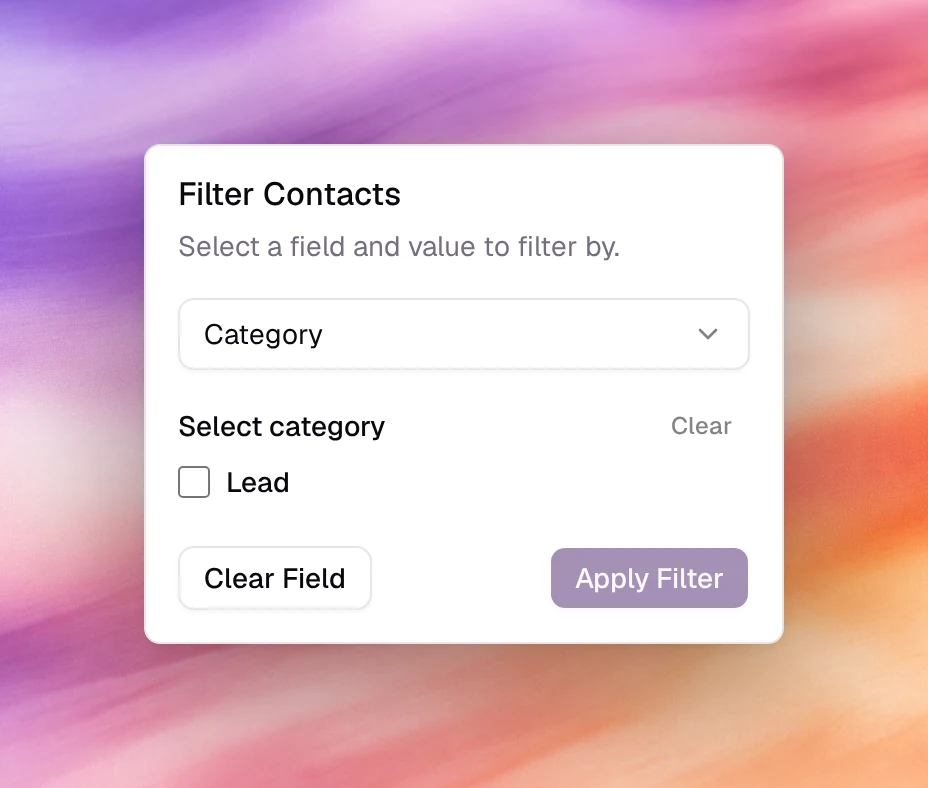
- Filter opens a small panel: pick a field (Category, Tag or Source), tick one or more values, then Apply Filter. Clear Field removes it.
- Refresh contacts list reloads after an import.
- The checkbox on each row, or Select all contacts on this page, switches the toolbar to bulk mode with Deselect All and Delete n selected. When the list holds more contacts than you selected, Delete becomes a menu that can also delete every contact matching the active filters (or every contact); you confirm by typing the count.
- The row menu has Edit and Delete.
Source is set for you: contacts you type in are Manual, imported contacts are
file_import. Category and Tag are yours.
Add a contact
Open the dialog
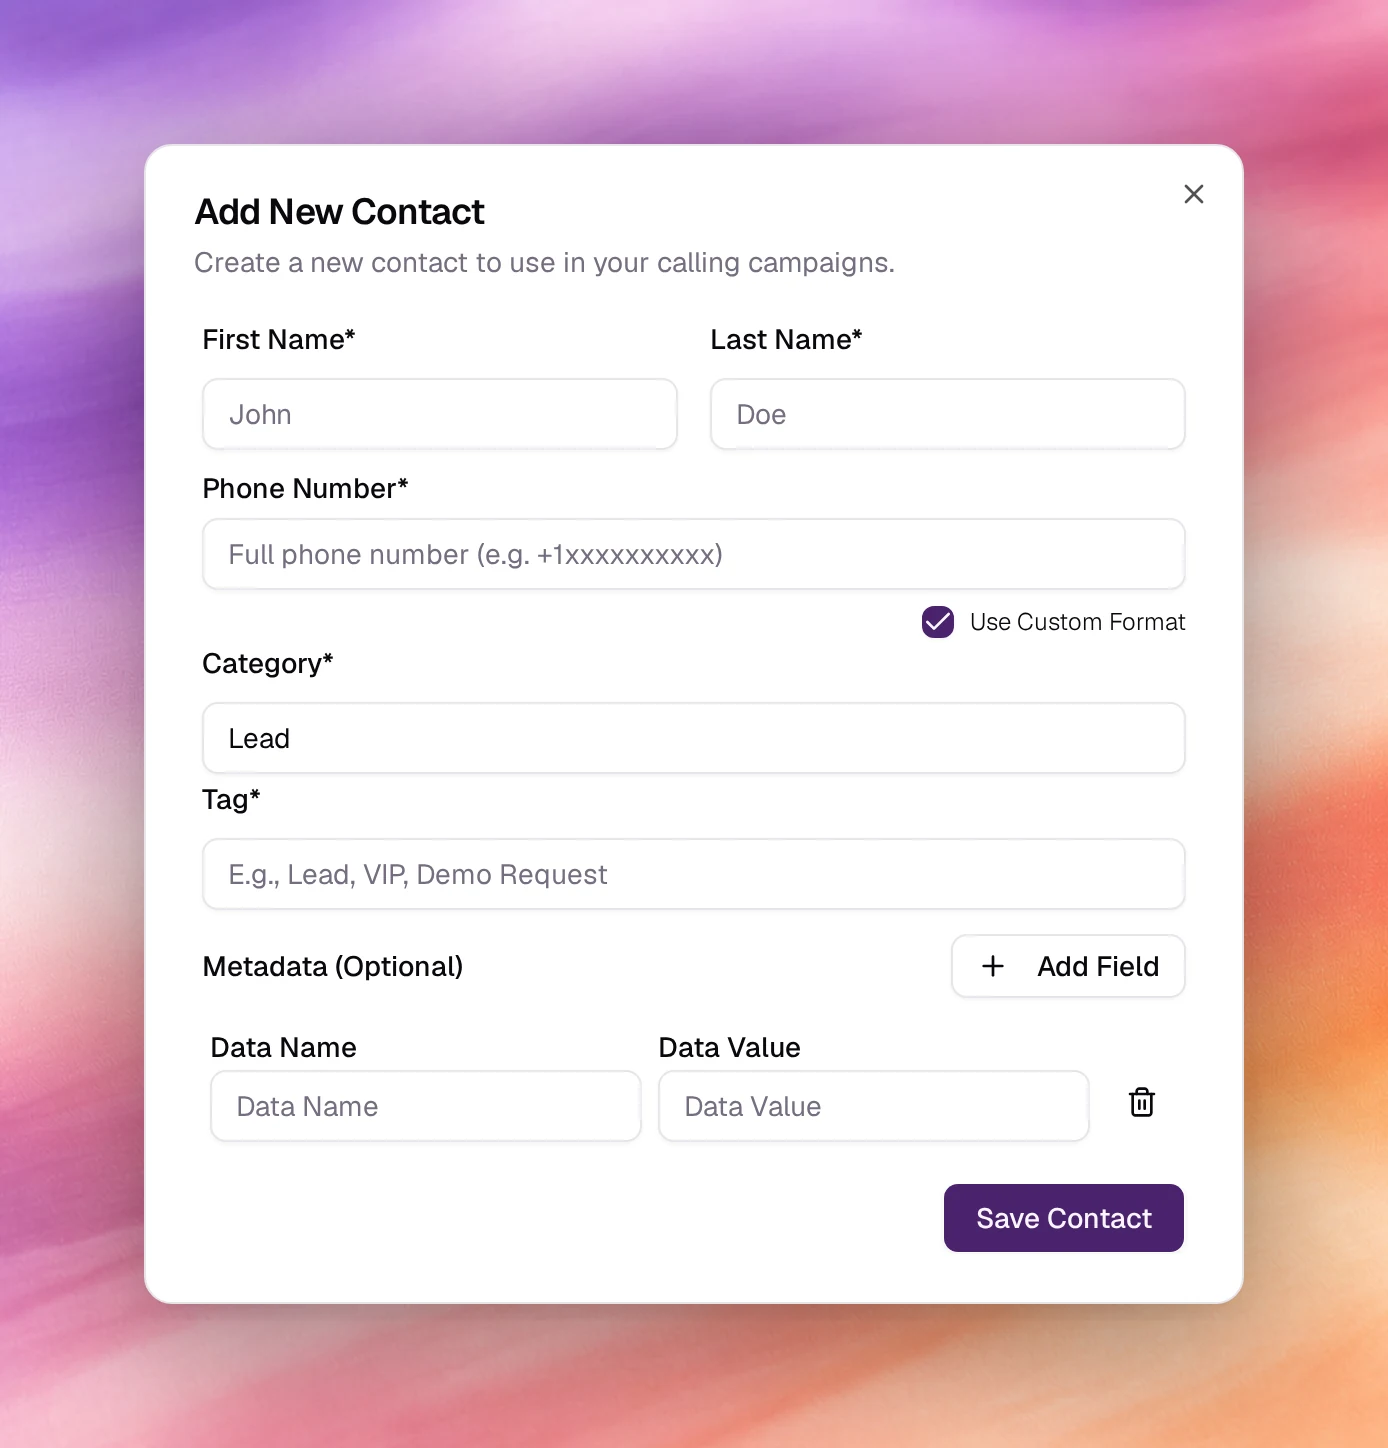
Choose Add Contact. The dialog is Add New Contact.
Name and number
First Name and Last Name are required. For Phone Number, pick the
country in the flag selector and type the local number, or tick Use Custom
Format and type the full number with its country code, as in +1xxxxxxxxxx.
Category and Tag
Both are required free text. Category defaults to Lead; the placeholders
suggest Customer or Prospect. Tag is the finer label, such as VIP or
Demo Request. Spell them consistently: the campaign wizard treats vip and
VIP as two different tags.
Metadata
Under Metadata (Optional), Add Field adds a Data Name and Data
Value pair. Metadata is what a campaign maps into the agent’s
dynamic variables: a appointment_date field here
becomes {{appointment_date}} in the prompt.
Save
Save Contact. The contact appears at the top of the list with source
Manual.
Import a file
Get the template
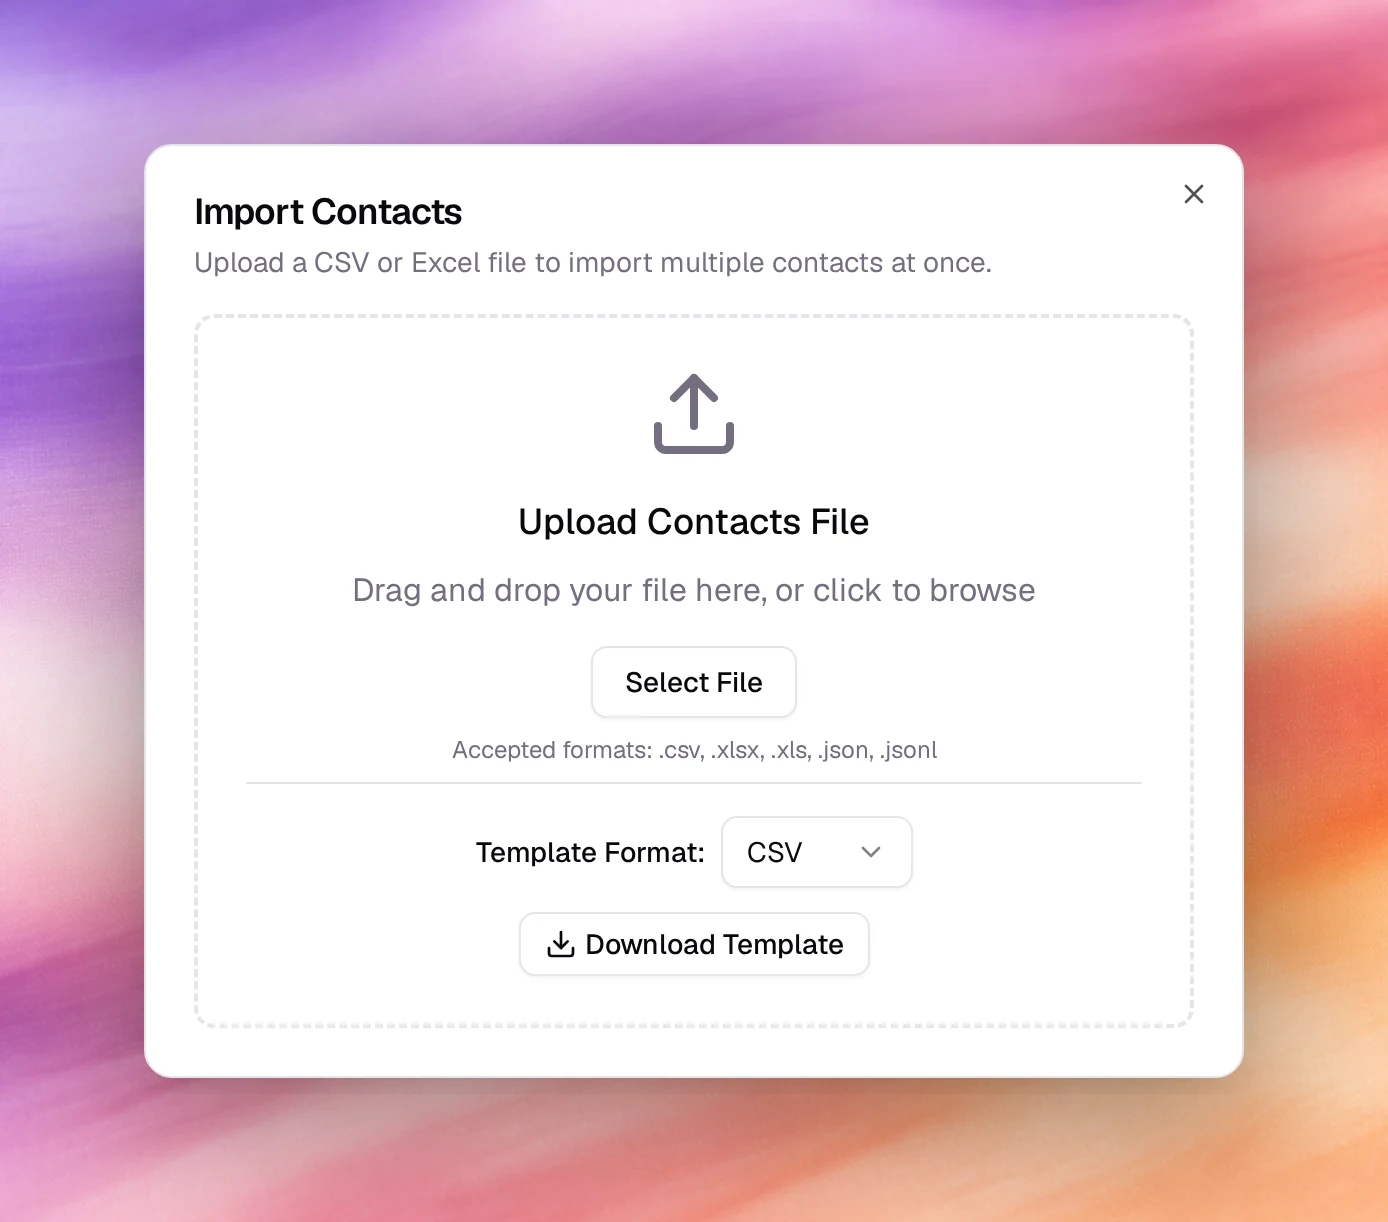
Choose Import. In Import Contacts, set Template Format to CSV, JSON or JSONL and choose Download Template. The template has the exact column names the importer expects; start from it rather than from an export of another system.
Fill it in
One contact per row or record. Extra columns are kept as metadata, so a
plan column becomes a plan field on every imported contact.
Upload
Drag the file onto Upload Contacts File or choose Select File. Accepted
formats are .csv, .xlsx, .xls, .json and .jsonl.
Label and map
Under Import Settings, type a Category Name and a Tag Name; both
are required and apply to every contact in the file. Under Required
Fields, pick the column of your file for firstname, lastname and
phone_number (for an Excel file, type the column name or letter). Next.
Preview and import
Check the preview of the first rows. Tick Add prefix to all imported
contacts phone numbers and fill in Prefix (such as +1) if your file
has local numbers. Choose Import Contacts.
Check the result
Back in the list, Refresh contacts list. The imported rows share the
source file_import and the Tag Name you typed, which is the easiest
handle for a campaign audience: one tag, one file, one campaign.
Export
Export Contacts downloads your contacts at once as a CSV file,
contacts_<date>.csv; there is no dialog, and the search and filters are not
applied. A notification, Export Successful, confirms it.
The contact page
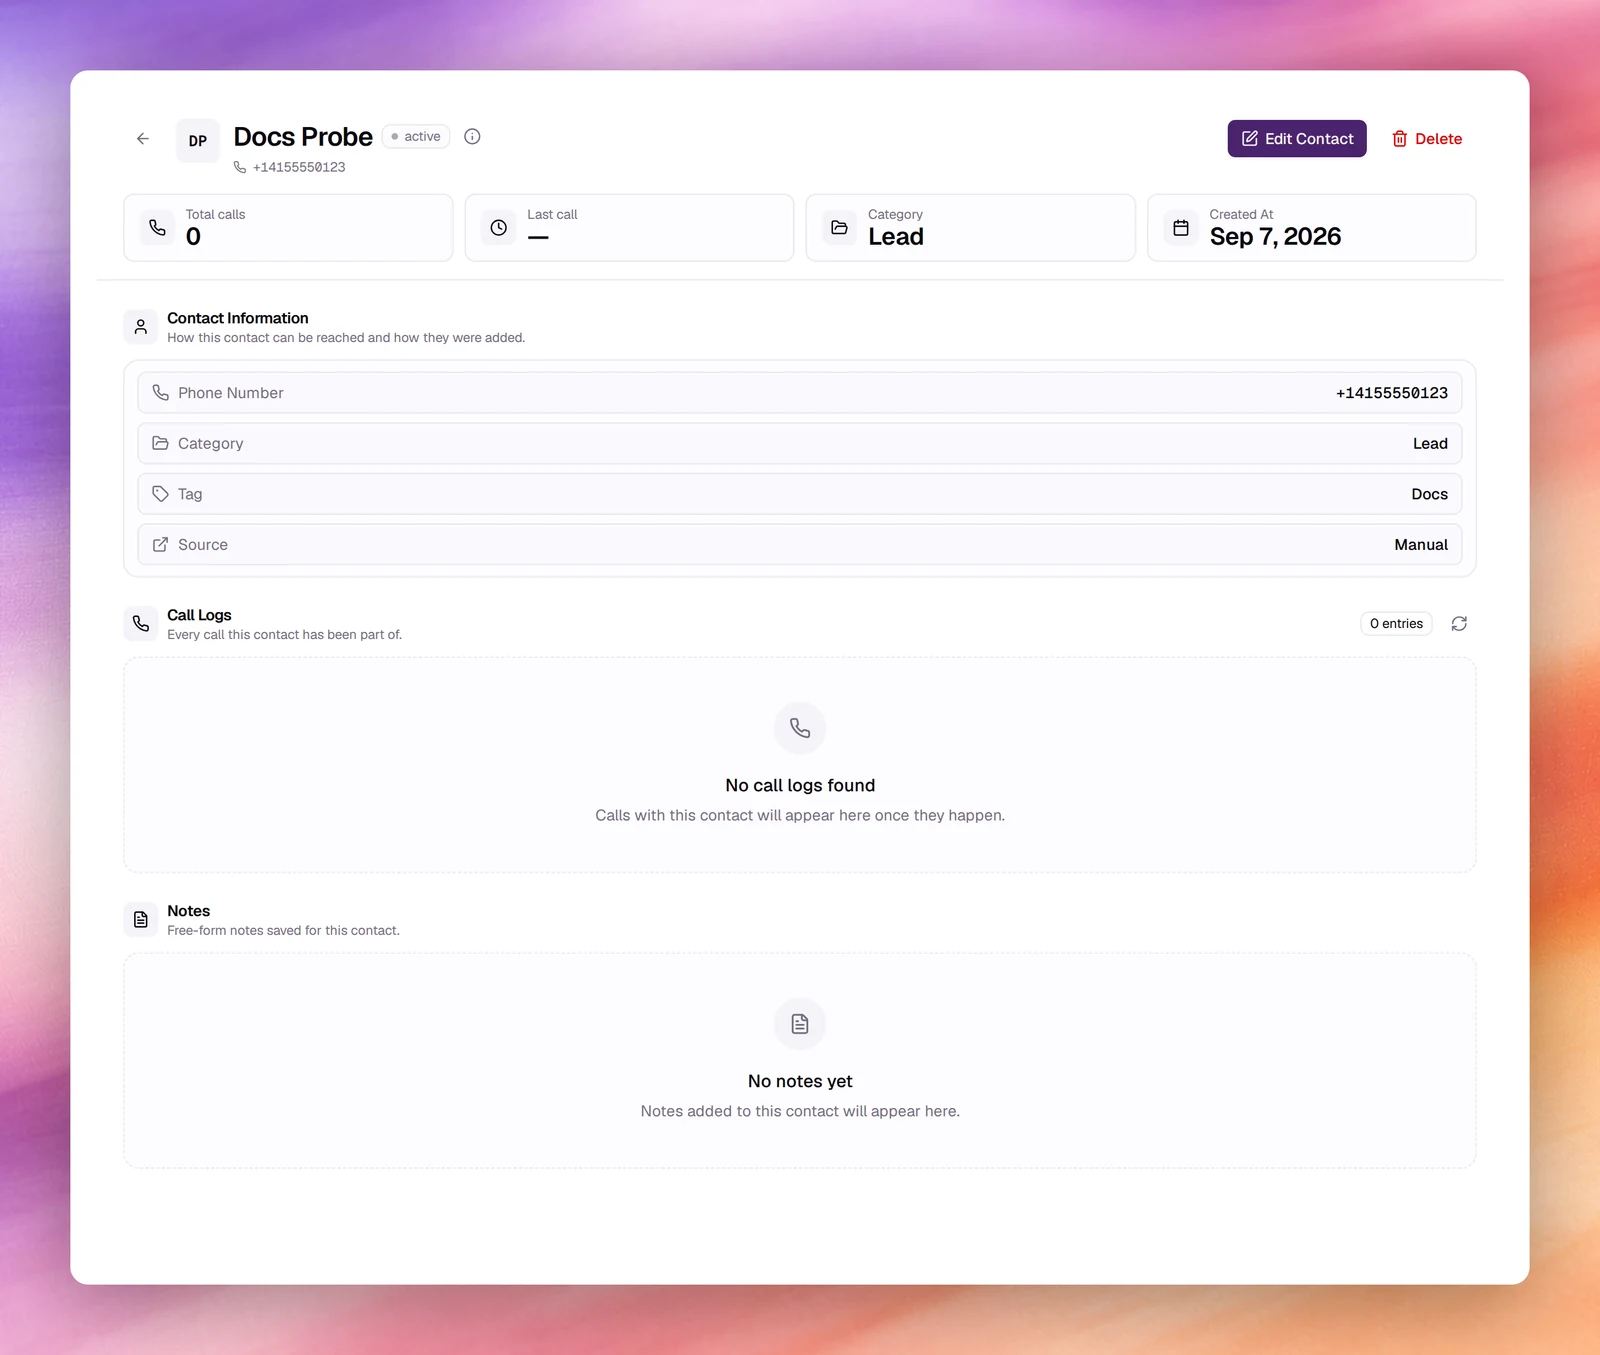
Click a name to open /contacts/<id>. The page shows the number with Edit
Contact and Delete, then 4 tiles: Total calls, Last call,
Category and Created At.
- Contact Information repeats Phone Number, Email when there is one, Category, Tag and Source.
- Call Logs lists every call this contact was part of, from any campaign, with a Refresh button. It is empty until the first call.
- Notes holds free-form notes saved for this contact.
Edit Contact opens the same form as Add New Contact with the metadata fields filled in, so a contact’s variables can be corrected between campaigns.
Verify
- The new contact is in the list with the Source, Category and Tag you expect, and Filter on that tag returns it.
- In the campaign wizard’s audience step, the source or tag appears in the picker. A campaign’s Settings page shows a Contact Preview that counts the contacts you meant.
Troubleshooting
- Next stays disabled when importing. All 3 required fields must be mapped, and Category Name and Tag Name filled in.
- The import fails. The Import Failed notification carries the reason. Download the template for your format and compare its header row with yours.
- A contact has a dash for Category and Tag. It was created without them. Edit it; a campaign cannot select a contact that has no tag.
- Deleting a contact did not stop its calls. A running campaign keeps the numbers it selected when it started; the delete confirmation and a campaign’s Contact Preview warn about this. Stop the campaign instead.